Refrigerator, Galley, Dodger and More!
Hi again. Sorry we haven't updated the site in so long! It has been a busy month. First of all, we're house-sitting at a house on the mainland, so we had a week of packing and moving. Although there are things about living on the island that I miss (one day last month on our morning commute we saw a bald eagle attacking a baby harbor seal on a small ice floe right next to the ferry! Not something we're likely to see on Portland's West End!) it definitely makes daily life easier.
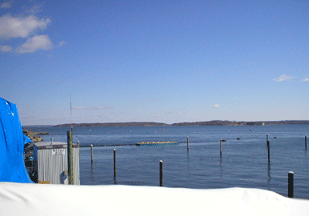
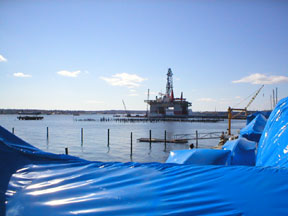
Also, like last year, the boat yard has shrink-wrapped Zora and moved her outside for 3 weeks while they set up and hold the annual boat show. We had to spend a few days cleaning up all of our stuff under the boat and getting her ready. It feels good to be all organized again, though. We're feeling ready to jump into the last few big projects when we go "back inside". In the meantime Neil is planning to work on cabinetry he can build off the boat, build the refrigerator lids and rebuild the heads off-site, things like that. Zora is now closer to the water than she's been in almost 2 years! We're right next to the water at the edge of the yard. If you look out the zippered door in the shrink-wrap covering, you can almost imagine you're afloat! Here's our current view:


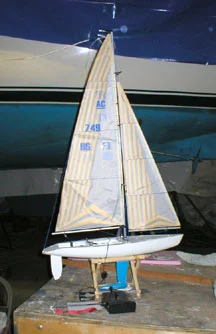
OK, here's an update on February's events and progress...... Neil took a week of vacation and did a bunch of boat work. He also brought his radio-controlled sailboat over from the island to sail off the dock:
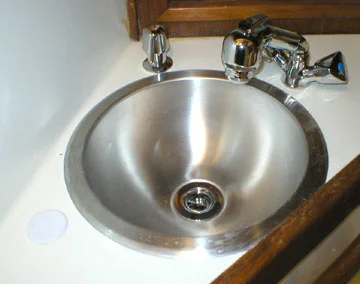
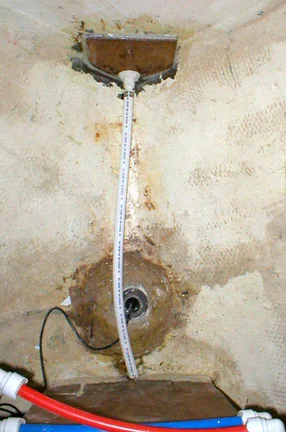
We tied up a lot of loose ends on projects around the boat. We installed the new vanity sink and faucet/shower fixture and soap dispenser in the aft head. This was one of those aggravating projects that you think is going to be simple (replace the old sink, replumb...) but ends up taking two days (old sink too warped to fit right; new one too big; new hose won't bend enough, etc.) But it's finally in! The white disk in the photo is a "blank" that covers up an old hole. There used to be one faucet each for hot and cold water, and we replaced them with a single-hole mixer.
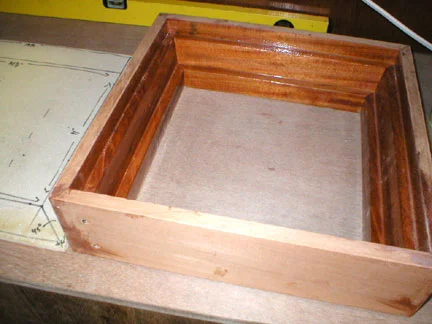
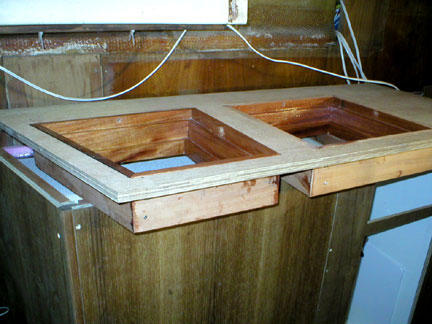
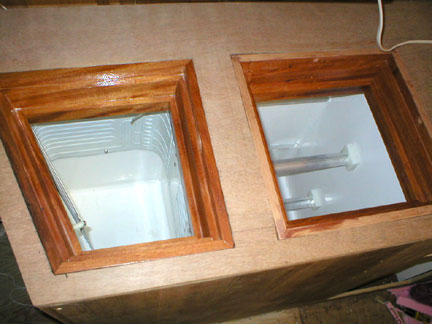
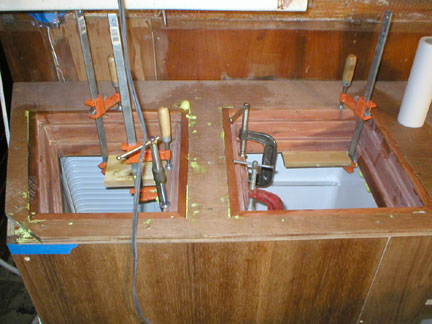
Neil also built the rest of the refrigerator. Here are pictures showing some of the steps involved. After getting the box liner in place and trimming all the insulation around it (being oh-so-careful of those fragile vacuum panels!) He built a teak cabinet around the box. The countertop is built of 3/4" marine ply and has a large oak brace between the two openings to strengthen the countertop, since it's also our companionway step. He then milled mahogany to create the lid frames, and sealed them with epoxy and installed them in the countertop, insulated with foam. When it was time to put it all together, we made a novice mistake. After clamping the inner box liner top to the frames with 4200 and fastening down the countertop unit, Neil went around with expanding foam to spray into holes he'd pre-drilled to access voids inside the unit. Unfortunately, the foam expanded so much that it pushed right through the 4200 in some places, making a big mess of drippy 4200-and-foam in the boxes! Yuck! So now we'll need to seal those edges with epoxy to be certain they're watertight (although they're at the very top of the box). Here is one of the hatch frames:
Here they are attached to the countertop piece and ready to be installed:
During installation:
The view of the whole counter. The stove will go where the microwave is sitting (we won't have a microwave). The bin against the hull is dry storage, with a cutlery drawer and trash locker between it and the refrigerator:
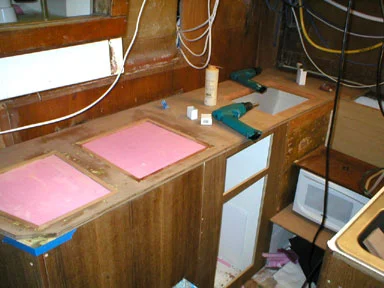
Next Neil installed the white Formica on the countertop. It'll be on the backsplash as well. Now we're finalizing the design of the dish and food storage lockers to go behind the stove and over the counter. Last weekend we mocked it up out of cardboard ( a COLD job since we're too far away from the electrical outlet to run our heater on board!) and, hopefully, Neil will soon be building some of the pieces:
Finally, some random pictures from February..... here's our solution to the anchor locker drainage. It used to just have an opening cut out that drained to the bilge right through the big locker under the V-berth. Since that locker is essentially our only sail storage space, we didn't want it wet! We added a plastic through-hull fitting with a hose attached that runs all the way through the "sail locker" and then under a part of the sole with no access. That section had previously gotten very wet due to clogged limber holes and we hope to avoid that with this hose set-up:
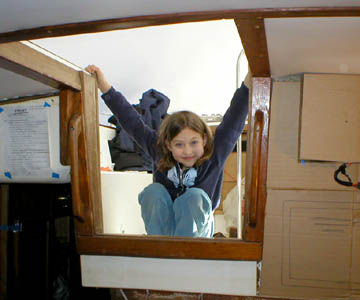
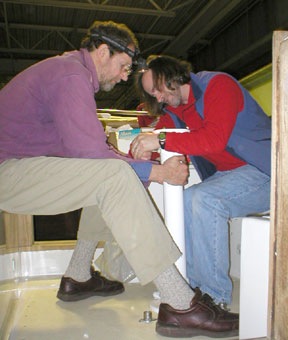
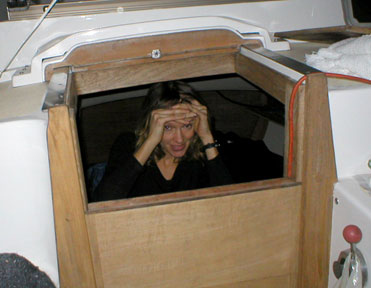
Scenes from a weekend: Olivia, "Working on the boat is SOOOO BORING!"; Neil and my Dad working on the pedestal; Stacey the morning after spending the night at the boat ( it was the 10th anniversary of the day we met so we had a "date" in town...Neil brought champagne and roses to the boat and we went out to dinner at the place we met!); and, finally our new dodger!