Moved out of our house; windlass; electrical
Well, we've finally moved out of our house! Major production. We're still settling into our new semi-nomadic lifestyle: Olivia and I stay nights at my parents' house on Great Diamond island in Casco Bay and most of the day in Portland, Neil splits his nights between the island and town, sleeping at friends', friends' boats, or our boat.
Although we had a couple of weeks where we didn't get much boat work done due to the move, we're getting back on track now. Just after the move we spent two days re-organizing the work space at the boat and setting up a makeshift galley. The first project after that was to install the inner forestay chainplate and fitting. Neil had consulted with Jim Plaegenhoff, a rigging expert, and designed a deck fitting and stainless steel reinforcements to the underdeck bulkhead in the forepeak. We had the fitting made by our guy Jeff after first making a mock-up out of wood to be sure it would fit! Installation was straightforward; the only difficulty was getting it centered on the deck from the underside. After drilling the holes for the bolts and back-filling them with epoxy, we simply bolted everything in place using 3M 101 on the deck side. Neil's brother Stephen came to help and got a glimpse into our lives as it took him an hour to clean off the sealant overflow after the installation!
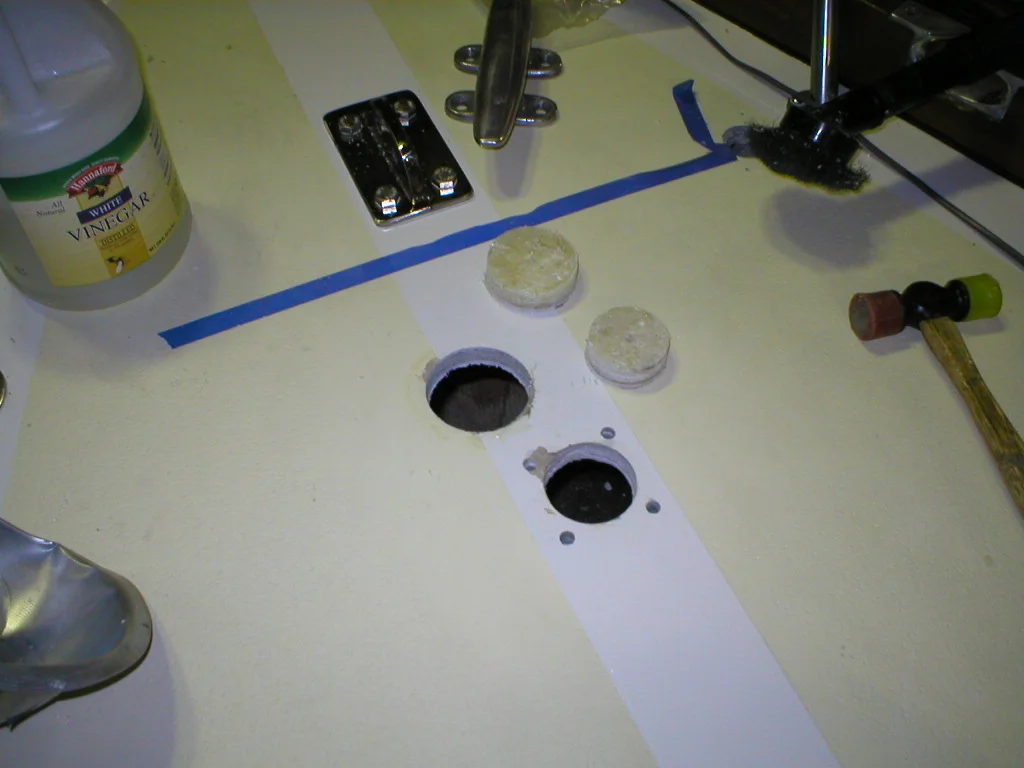
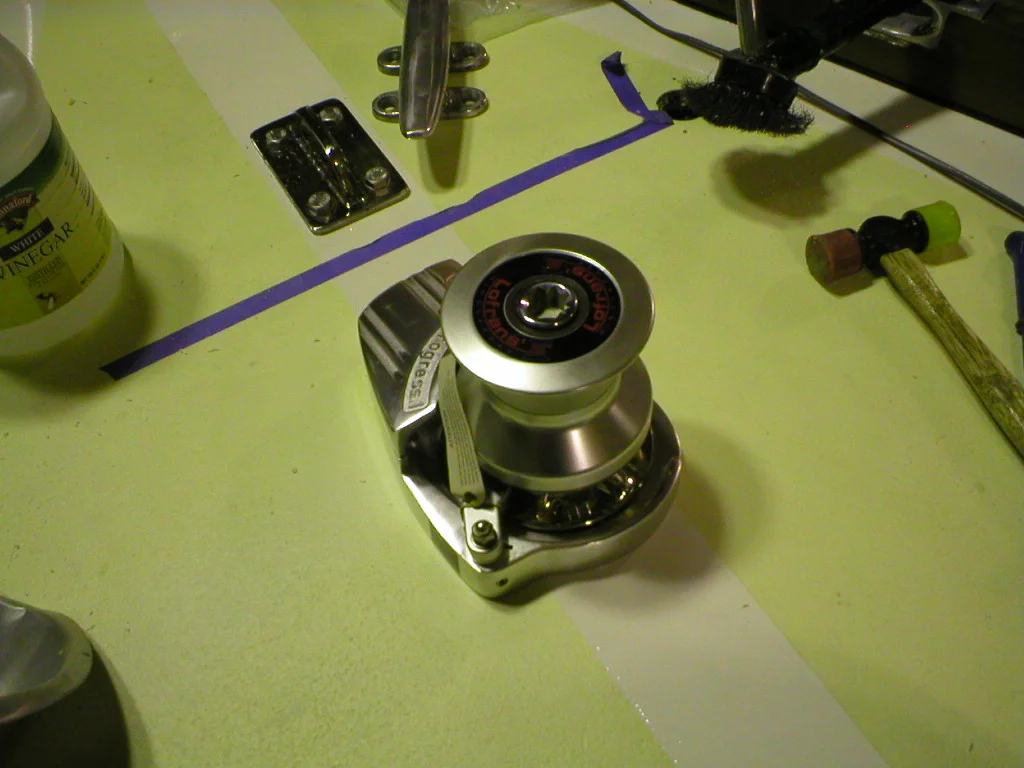
Next came the windlass. This is very exciting since it was one of our very first purchases for the boat, over a year ago, and it's been sitting in its box all that time waiting to be installed. It is a Lofrans Progress I vertical windlass. Using the template supplied we marked out the holes and drilled through just the top skin of the cored deck. Next we emptied out all the coring and used an allen wrench in an electric drill to remove more coring to make more space to fill with epoxy for a good solid base for the windlass to be mounted to. This is ordinarily a simple process but since we had repaired the deck in this area previously this summer, there were several areas of solid epoxy in our way. As is always the case with boats, it took considerably longer than planned! We filled the large holes with a combination of West System high-density filler and plain old chopped strand glass. After that had kicked we drilled out the holes all the way through (that was really hard!) and put the windlass in place with the big 3/4" high-density plastic backing plate we'd made. Ta-daaaaa!
Meanwhile Stacey's been working on finishing up the DC electrical installation. The new cockpit electronics box has been wired, a very satisfying job. A few more small odds and ends need finishing on the 12 volt DC side, and then we'll move on to the 120 volt AC installation. The AC system is designed to be extraordinarily simple, since we don't foresee long periods of time hooked up to shore power. There's a battery charger, the hot water heater, a top-quality galvanic isolator, and one AC outlet. That's it.